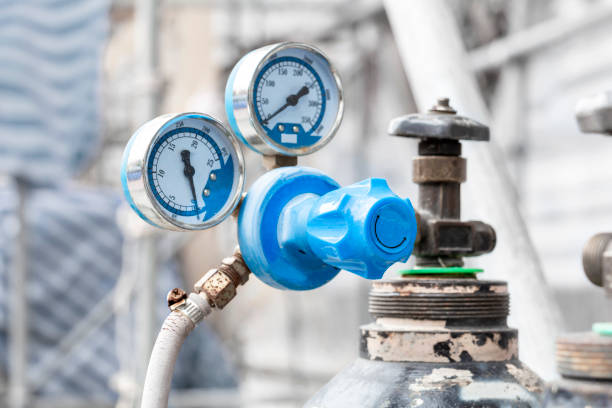
How to Clean a Fuel Pressure Regulator: A Comprehensive Guide
Maintaining your vehicle’s fuel pressure regulator is crucial for optimal engine performance and fuel efficiency. A clean fuel pressure regulator ensures that your engine receives the correct amount of fuel, preventing issues such as poor acceleration, engine misfires, and reduced fuel economy. In this guide, we’ll walk you through the steps to clean a fuel pressure regulator, helping you keep your vehicle running smoothly.
What is a Fuel Pressure Regulator?
A fuel pressure regulator is a component of the fuel system that maintains a constant fuel pressure to the injectors. It adjusts the pressure based on the engine’s demand, ensuring efficient fuel delivery. Over time, dirt and debris can accumulate, causing the regulator to malfunction. Cleaning it regularly can prevent these issues and extend its lifespan.

Tools and Materials You’ll Need
Before you start, gather the following tools and materials:
- Safety goggles and gloves
- Screwdrivers (flathead and Phillips)
- Wrenches
- Fuel pressure gauge
- Cleaning solvent (fuel system cleaner)
- Clean, lint-free cloths
- Container for old fuel
Step-by-Step Guide to Cleaning a Fuel Pressure Regulator
1. Safety First
Safety is paramount when working with fuel systems. Ensure you’re in a well-ventilated area and away from any open flames or sparks. Wear safety goggles and gloves to protect yourself from fuel and cleaning solvents.
2. Relieve Fuel System Pressure
To prevent fuel spray, relieve the pressure in the fuel system. Locate the fuel pump fuse or relay and remove it. Start the engine and let it run until it stalls, indicating that the fuel pressure has been relieved. Turn off the ignition and disconnect the battery.
3. Locate the Fuel Pressure Regulator
The fuel pressure regulator is typically found on the fuel rail or near the fuel injectors. Consult your vehicle’s manual for the exact location.
4. Remove the Fuel Pressure Regulator
Carefully disconnect the vacuum hose and fuel lines connected to the regulator. Use wrenches or screwdrivers as needed. Be prepared for some fuel spillage and have a container ready to catch any excess fuel.
5. Inspect and Clean
Once removed, inspect the fuel pressure regulator for signs of wear or damage. If it’s excessively dirty or damaged, consider replacing it. Otherwise, proceed with cleaning.
- Cleaning the Regulator: Spray the cleaning solvent into the regulator’s inlet and outlet ports. Use a clean, lint-free cloth to wipe away any residue. Avoid using abrasive materials that could damage the regulator.
- Cleaning the Vacuum Hose: Inspect the vacuum hose for cracks or blockages. Clean or replace it as necessary.
6. Reinstall the Fuel Pressure Regulator
After cleaning, reinstall the fuel pressure regulator by reconnecting the fuel lines and vacuum hose. Ensure all connections are secure to prevent leaks.
7. Test the System
Reconnect the battery and reinstall the fuel pump fuse or relay. Start the engine and check for any fuel leaks. Use a fuel pressure gauge to ensure the regulator is maintaining the correct pressure. Consult your vehicle’s manual for the recommended pressure range.
Conclusion
Regular maintenance of your fuel pressure regulator is essential for your vehicle’s performance and longevity. By following this step-by-step guide, you can clean your fuel pressure regulator effectively and prevent common fuel system issues. Remember, if you’re unsure about any step, consult a professional mechanic to avoid any potential damage or safety risks.
Keep your vehicle running smoothly and efficiently by incorporating this simple maintenance task into your routine. Happy driving!
